Adding a New Couple
Step 1
– Add Couple
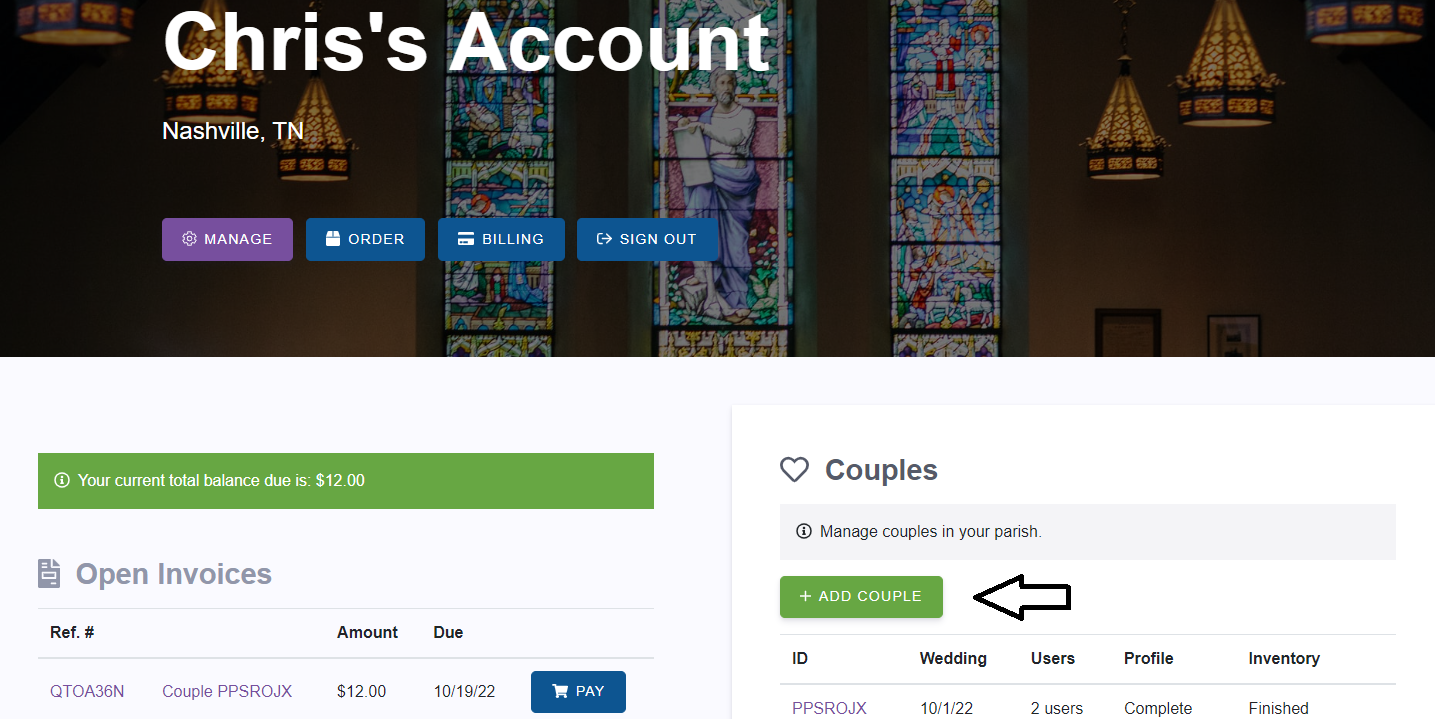
From your parish dashboard, click on the green “Add Couple” button.
Step 3
– Add Bride Information
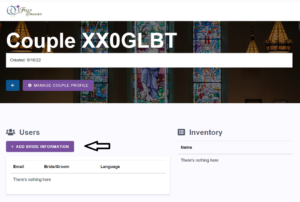
Click on the purple box +ADD BRIDE INFORMATION.
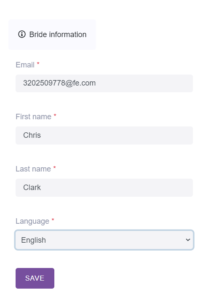
Add the Bride’s information:
- Email Address
- First and Last Name
- Language all correspondence should be sent (English or Spanish
Click on “Save”
NOTE: ALL FIELDS MUST BE COMPLETED
Note: We are no longer asking for phone number.
– Add Groom Information
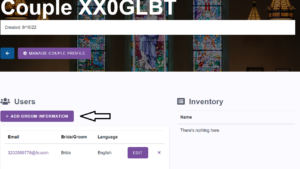
Next, click on the purple box +ADD GROOM INFORMATION.
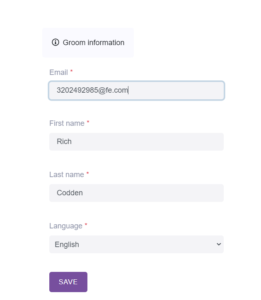
Repeat the same process as above for the Groom. Click on SAVE.
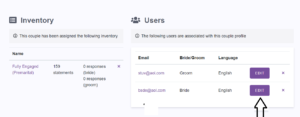
Resend Welcome to Engaged Couple
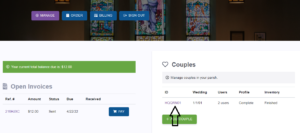 If you wish to resend the Welcome email to the Engaged Couple in the new system, from your dashboard, click on the Couple ID you wish to work with.
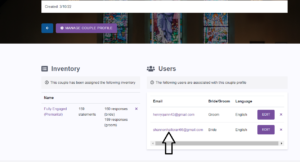 Click on the person’s email address you wish to resend the Welcome Email
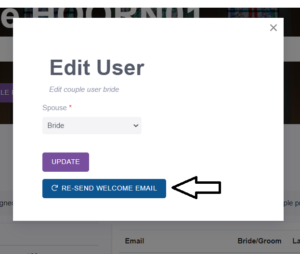
Next, click on “Resend Welcome Email”
Step 2
– Enter Couple’s Wedding Date
You may enter the couple’s wedding date manually mm/dd/yyyy or use the drop down calendar to the right. (Small calendar icon)
Note: If the couple has not set their wedding date yet, enter 01/01/0001
Click on “Next” 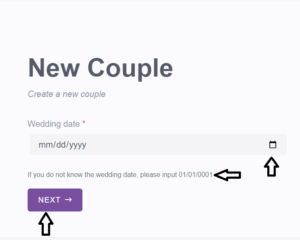
Step 4
– Assign Inventory
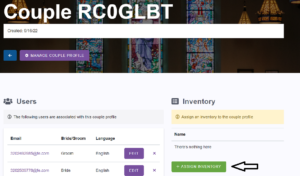 Click on the green button ASSIGN INVENTORY.
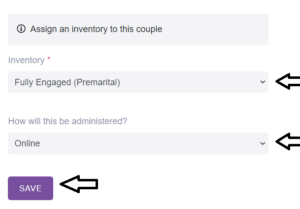
From the drop down inventory, choose Fully Engaged Premarital or Fully Engaged Convalidation.
From the drop down “How will this be administered” chose one of the following:
- Online – couple use a link sent to them and will enter their answers themselves
- Parish Scored – couple will take the inventory via paper and pencil with parish inputting the data
Click on “Save”
You’re Done!
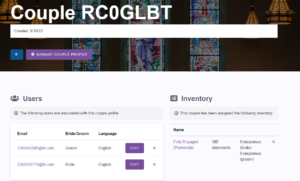 If you have chosen for the couple to take the inventory on-line, they will automatically be sent the Welcome Email to complete the inventory.
If your parish is manually scoring, see additional instructions below.
Edit Couple's User Information
Manually Entering Information
Step 1 - Couple Profile
– Manage Couple Profile
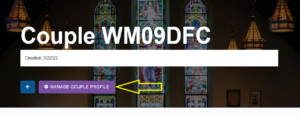 Start by clicking on the purple “Manage Couple Profile” button under the Couple ID
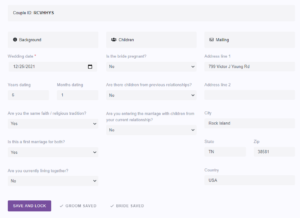 This information sets the additional sections that may be used (Ecumenical, Second Marriage and Blended Family. It asks questions on:
- Years/Months Dating
- Same faith tradition
- First marriage
- Living together
- Pregnancy
- Children bringing to marriage
- If Fully Engaged is mailing the Couple’s Workbooks, here is where you enter the mailing information.
After this information is added, click on “Save and Lock”.
 Next, click on “Go Back” at the top.
Note: All fields need a response. If any are left without a selection, you will not be able to printout the results. (with the exception of mailing information)
Step 2 - Personal Information
– Add Information
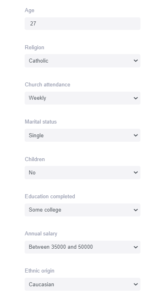 Click on Bride “Update.” The previous information you entered will be filled in, so complete the following date:
- Age
- Religion
- Church Attendance
- Marital Status
- Children
- Education Completed
- Annual Salary
- Ethnic Origin
Click “Update” at the bottom of the screen.
Repeat process for Groom.
Note: Please ensure all information is included. If a field is not entered, you will be not be able to printout the results.
Step 3 - Entering Responses
To enter the Bride and Groom’s responses to the statements, click on “Fully Engaged Premarital” or “Fully Engaged Convalidation.”
On the next screen click on Bride’s box for answer #1, Enter “1= Yes,” “2=No,” or “3=Unsure” . Hit your tab to advance to the next statement. Be careful not to enter more than one number per statement.
The statements are on pages of 25 statements each, like the bubble sheets the couples used to complete their answers. When the first 25 answers are entered, click on page 2 at the bottom and the next page will come up. Enter all the brides answers. When you have finished with the Bride, go back to page 1 and enter the Groom’s responses .
Note: All statements need a response or you will not be able to print the results. If the couple left an answer blank, enter “3=unsure”.
Downloading Results
Step 1
From your parish Dashboard, click on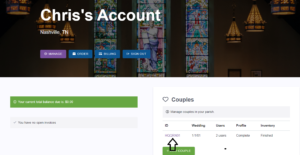 of Couple ID you wish to print
Step 3
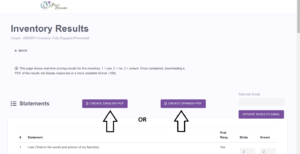 On the screen with couple’s responses,, click on “Create English PDF” or “Create Spanish PDF”
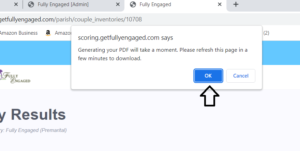 A box will appear saying “Generating your PDF will take a moment. Please refresh this page in a few minutes to Download.” Click on OK. You will receive an email when it is ready to download.
Accessing Results from Old Site
Step 2
 On the screen of couple, click on “Fully Engaged Premarital” or “Fully Engaged Convalidation”
Step 4
Refresh your page and click on “Download PDF” This may take a few minutes. An email will also be sent to the results contact advising the results are now available.
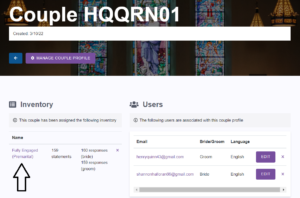
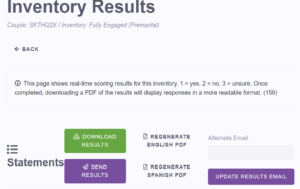 When you go back to the results page, you will have choices to:
- Download the results
- Send Results to the email on record to receive results
- Regenerate the results in a different language than you had already chosen.